So, you're eyeing that old linoleum or cracked tile in your bathroom or kitchen and thinking, 'I can totally do this myself, right?' Maybe. Or maybe not. Look, I've been in this business a long time, and I've seen it all – from homeowners who pull off amazing DIY flooring projects to those who end up with a wobbly floor and a bigger bill than if they'd just called a pro from the start.
Let's break down what you need to know about tile and flooring installation in El Monte, from planning to finishing, and figure out when to roll up your sleeves and when to pick up the phone.
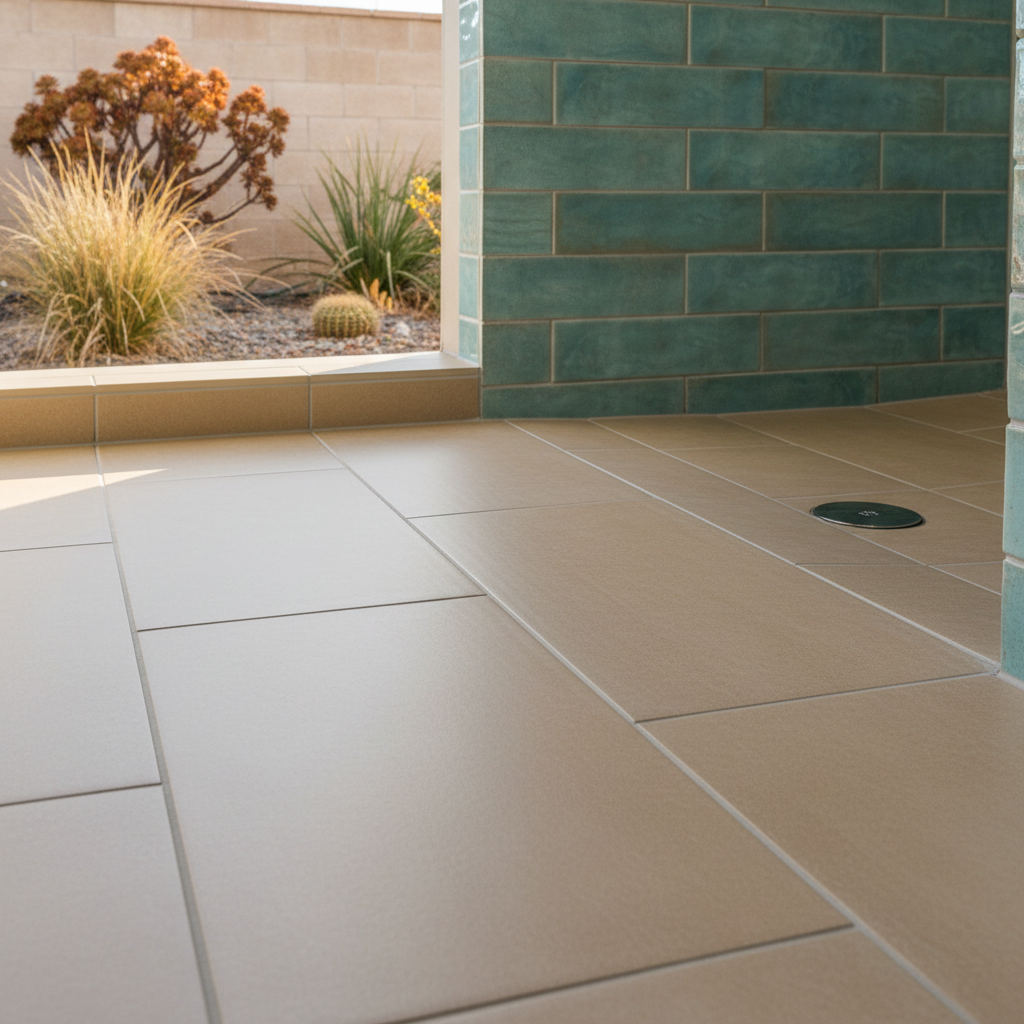
Before You Start: Planning & Prep
This is where most DIY projects go sideways. You can't just rip out the old floor and slap down the new stuff. You need a plan.
- Measure Twice (or Thrice): Get your measurements right. Not just the square footage, but also account for waste. For tile, you're looking at 10-15% extra for cuts and mistakes. For planks, it might be a bit less, but still, don't skimp. Running out of material halfway through is a nightmare.
- Subfloor Inspection: This is critical. Your subfloor needs to be clean, dry, level, and structurally sound. If it's not, your new flooring won't last, and you'll have squeaks, cracks, or dips. In older El Monte homes, especially those built in the 50s and 60s, you might find some water damage or unevenness due to settling. Don't ignore it. Fix it first. This might mean screwing down loose spots, patching holes, or even laying down a new layer of plywood.
- Material Choice: What are you putting down? Ceramic, porcelain, natural stone, luxury vinyl plank (LVP), laminate, engineered wood? Each has its own installation method and requirements. LVP is pretty forgiving for DIYers. Large format tile? Not so much.
- Tools: Do you have them? A wet saw for tile, a good level, spacers, trowels, knee pads, a rubber mallet, a utility knife, a tape measure. Renting some tools can save you money if you're only doing one project.
During Installation: The Nitty-Gritty
Okay, you've prepped. Now for the actual work.
- Demo: Tearing out old flooring can be a dirty, dusty job. Make sure you have proper ventilation and protection. Old tile can be a real pain to remove, especially if it was laid well.
- Layout: This is huge for tile. You don't want tiny slivers at the edges. Plan your starting point so you have balanced cuts. Dry-lay a few rows to see how it looks. For planks, decide on your pattern – straight lay, staggered, herringbone.
- Adhesive/Mortar: Use the right stuff for your material and subfloor. Read the instructions! Different mortars have different open times and cure times. Don't rush it.
- Cutting: This is where precision comes in. Crooked cuts stand out like a sore thumb. Take your time.
- Grouting (for tile): This is the final step for tile and it can make or break the look. Make sure your grout lines are clean and consistent. Don't use too much water when cleaning, or you'll weaken the grout.
After Installation: Finishing Touches & Care
You're almost there!
- Curing: Let your new floor cure properly before walking on it or moving furniture. This can take anywhere from 24 hours to several days, depending on the material and adhesive.
- Sealing: If you used natural stone or unglazed tile, you'll need to seal it to protect against stains. Grout also often needs sealing.
- Maintenance: Know how to clean and maintain your new floor. Some cleaners can damage certain materials.
DIY vs. Calling a Pro: When to Make the Call
Here's the honest truth:
- DIY if: You're installing something relatively simple like LVP or laminate in a small, square room. You have a good amount of patience, attention to detail, and a decent tool collection. You're not on a tight deadline. You're okay with potential imperfections.
- Call a Pro (like El Monte Custom Bathrooms) if: You're tackling complex tile patterns (like herringbone or mosaics), large format tiles, natural stone, or anything in a bathroom where waterproofing is critical. If your subfloor needs significant repair. If you have a tight timeline. If you want a perfectly seamless, professional finish that adds maximum value to your home. If you're doing a shower or wet area, that's almost always a job for someone who knows exactly what they're doing with waterproofing membranes and proper slopes.
Honestly, a lot of folks try to save a buck on flooring and end up spending more to fix mistakes. Sometimes, it's just not worth the headache. If you're in doubt, get a few quotes. It might surprise you how affordable a professional job can be, especially when you factor in your time, potential material waste, and the peace of mind knowing it's done right.